Build a Power Apps Canvas App for Expense Tracking
Introduction
A pile of expense records in a table can be hard to review on a phone or tablet. A Power Apps canvas app gives you a simple way to enter costs and check saved expenses from a clear screen.
This example uses Microsoft Dataverse to store personal expenses. You’ll create a table with Copilot, build a tablet app, add a form for new records, and show saved expenses in a gallery. The same approach can work with SharePoint or other supported data sources.
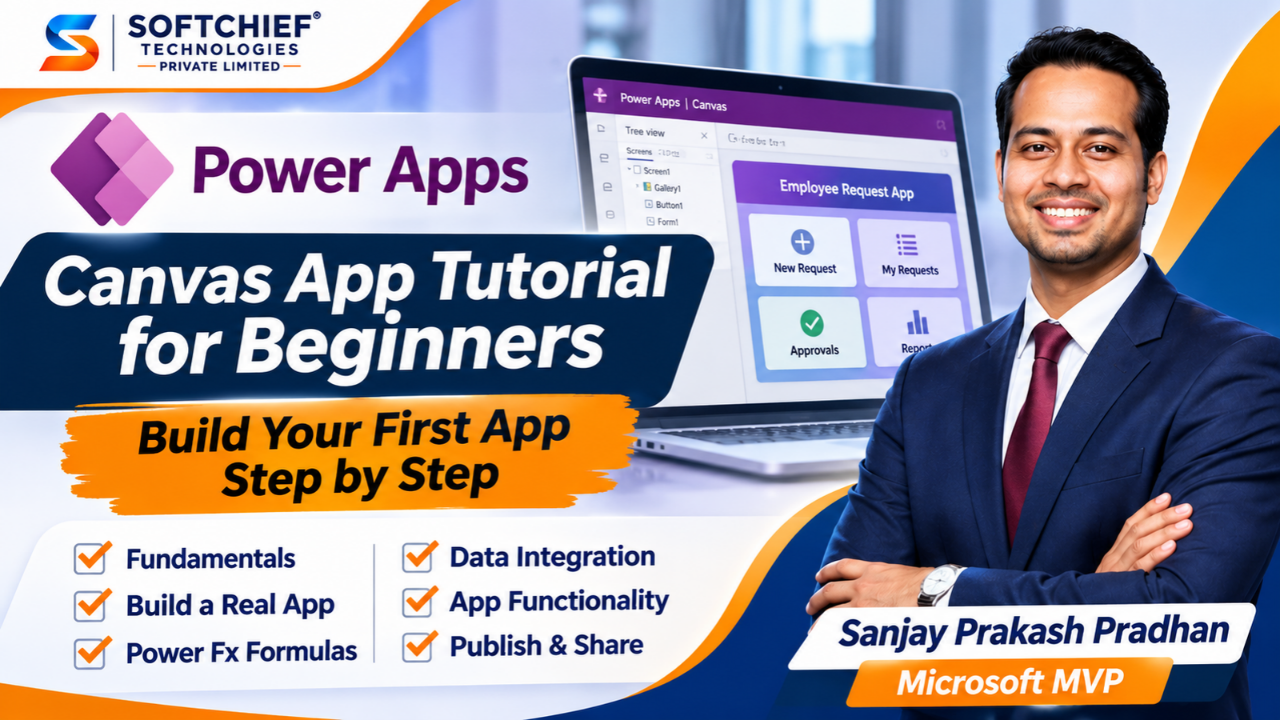
Watch this step-by-step Power Apps Canvas App tutorial for beginners, presented by Sanjay Prakash Pradhan, Microsoft MVP. Learn the fundamentals of Canvas App development, build your first app, and explore practical features through hands-on learning.
Generate a Dataverse table for your Power Apps canvas app
The table is the data foundation for your app. Dataverse Copilot can draft a table from a written request, saving you from setting up every column by hand. Review the result before you use it in your screens.
Describe the expense data you need
In the Dataverse data workspace, choose the option to start with Copilot and enter: “Please create a table to store my personal expenses.” Copilot uses that request to suggest a table and its fields.
For a more detailed setup, describe the columns you need in the prompt. If the table must connect to other tables, include those relationships too. Clear instructions help Copilot produce a closer match to your app’s needs.
Review the generated columns before saving
Open the data preview and check the proposed fields. The example includes an expense name, expense date, amount, and an indicator for whether the expense recurs. Once the fields look right, save the table.
Check the schema before you start building screens. If an important field is missing, refine the prompt or edit the table first. That can save time later, when you’re configuring the form and gallery.
Choose a layout for your Power Apps canvas app
Your starting layout and screen size affect how people use the app. The tutorial begins with a blank tablet canvas app, but Power Apps also offers split-screen and sidebar designs. Pick a starting point that suits the amount of control you want over the interface.
Select a blank, split-screen, or sidebar design
A blank app gives you room to arrange controls and screens from scratch. It works well for a small expense tracker with a few clear tasks: add a record or review existing ones.
Split-screen and sidebar layouts provide a more defined starting structure. Choose one if it fits your needs; otherwise, a blank canvas lets you create the layout yourself.
Set the app format and establish its visual style
Choose tablet, mobile, or responsive format based on where people will use the app. The example uses tablet format. A responsive app can adapt to different screen sizes, while tablet and mobile formats target their respective device layouts.
Set a background color, then add a rectangle to form a sidebar. Place two buttons on it and label them “New Expense” and “View All Expenses.” Keep colors consistent, then test the app on the format you selected.
Build an expense form in your Power Apps canvas app
An edit form connects the app’s entry screen to the Dataverse table. Once you choose the right data source and fields, users can enter expenses without opening the table directly. The save button then submits the form.
Connect the form to the personal expenses table
Insert an edit form and select the personal expenses table as its data source. Resize the form to fit the screen, and choose how many columns it should display. The example uses fields for expense name, amount, date, and recurring status.
Remove fields that users don’t need to fill in, such as status and status reason. Keep the entry screen focused on information people can provide. You can also remove system fields, such as record creation details, if they don’t belong in the user’s workflow.
Configure the form for new expense entries
Set the form’s mode to New so it creates a record rather than changing an existing one. Give the form a clear name, such as frmExpense, so you can refer to it when setting up the save action.
Check the form fields in the order users will complete them. A focused form makes it easier to enter a name, amount, date, and recurring status without extra fields getting in the way.
Submit the form and confirm a successful save
Set the save button’s OnSelect property to SubmitForm(frmExpense), using the name you gave your form. Then add a success message to the form’s OnSuccess property, such as Notify("Expense recorded successfully", NotificationType.Success).
Test the form with a sample entry. In the tutorial, the example is an electric bill payment with an amount of 4,000 and an expense date; no currency is specified. Run the app, save the record, and confirm that the success message appears.
Display saved expenses in a gallery
A gallery gives users a quick view of records already stored in Dataverse. Put it on a separate screen to keep browsing distinct from entering a new expense. This creates a simple flow between the form and the expense list.
Create a screen for viewing all expenses
Add a blank screen for the list and place navigation controls where users can find them. The entry screen can hold the form, while the new screen shows saved expenses.
Use clear button labels and set each button to navigate to the right screen. “New Expense” should take users to the entry form, and “View All Expenses” should open the list.
Connect the gallery and choose what each row shows
Insert a gallery and connect it to the personal expenses table. Choose a template that fits the information you want to show. If the records don’t have images, remove the image placeholder from the gallery.
Set the gallery labels to show the expense name, amount, and expense date. Run the app to check that the saved record appears with the right values. Adjust the template or field choices if the row is hard to scan.
Check the full user flow
Test both navigation buttons and confirm that each opens the expected screen. Enter a new expense, save it, and then visit the gallery to see whether the record appears.
Clear labels help people tell the two tasks apart. Keep “New Expense” for adding a record and “View All Expenses” for opening the list.
Test and refine the expense tracker before sharing it
This starter app covers basic entry and review. Before sharing it, check each screen and confirm that the form, save action, and gallery work together. Test in your own Power Apps environment, especially after changing the table or app format.
Verify the data, fields, and screen behavior
Confirm that the form uses the intended Dataverse table and includes only the fields users need. Submit a test record and check that the success notice appears. Then confirm that the gallery shows the expected expense name, amount, and date.
Test the app on the device type you chose. Review the layout, button labels, and form size to make sure people can use them comfortably.
Improve the app as your needs grow
You can make a more detailed Copilot prompt when your data model needs extra tables or relationships. You can also try other data sources, such as SharePoint, or change the app layout as your requirements shift.
After a change, test the affected screens and controls again. This is especially useful when you change the data source, table fields, device format, or navigation.
Conclusion
A Power Apps canvas app can turn a Dataverse expense table into a focused tool for entering and reviewing costs. Generate and check the table, choose a suitable layout, connect a form, submit records, and display them in a gallery.
Start with a few sample expenses in your own environment, then adjust the fields and screens to fit your needs. The same pattern can also support apps built with SharePoint and other data sources.