How to Customize the Homepage Banner in Microsoft Dynamics 365 Finance and Operations
Introduction
The default Microsoft Dynamics 365 Finance and Operations homepage banner may not match your company branding or business structure. A custom banner can make the home screen easier to recognize for employees.
Administrators can set a different banner for each legal entity. They can also remove the banner or restore Microsoft’s default image when needed.
The process takes place under Organization administration. You will select the legal entity, open Dashboard images, upload a suitable image, save the change, and refresh the homepage to check the result.
If you want to watch the practical video play the video given below or scroll to read.
Customize the Homepage Banner in Microsoft Dynamics 365 Finance and Operations by Legal Entity
The homepage banner is tied to the legal entity selected in Dynamics 365 Finance and Operations. This means one company can use a different banner from another company in the same environment.
Understand why legal entity context matters
The banner shown on the homepage depends on the current legal entity. If you configure an image for one entity, it does not automatically appear for every other entity.
Before making changes, check the company or legal entity selected in the system. This helps prevent updates to the wrong homepage.
Use separate branding for different organizations
Separate banners can support company branding, regional identity, or business-unit needs. For example, the transcript uses Subzi India Private Limited as the legal entity being customized.
You could assign an India-focused image to that entity and use another image for a different company. Each user will see the banner linked to the legal entity they select.
Confirm the required access before making changes
The demonstrated process uses administrator access. Your account needs permission to open Organization administration, Legal entities, and Dashboard images.
If these areas are missing, ask a Dynamics 365 administrator to check your role. The banner cannot be changed without access to the related legal entity settings.
Open the Dashboard Images Settings in Organization Administration
The banner controls are found in the legal entity record. Use the Modules menu to reach the correct page.
Navigate to Organization administration
Open the Modules menu in Dynamics 365 Finance and Operations. Select Organization administration, then choose Legal entities.
This is the main starting point for legal-entity settings. It also lets you work with other company records if your account has the required rights.
Select the legal entity that needs a new banner
Open the legal entity that requires a homepage change. In the example, the administrator selects Subzi India Private Limited before changing its image.
You can switch legal entities first or select the correct record from the legal entities area. Always confirm the company name before editing the banner.
Locate the Dashboard images section
Within the legal entity settings, find the Dashboard images section. This area controls the image displayed on that entity’s homepage.
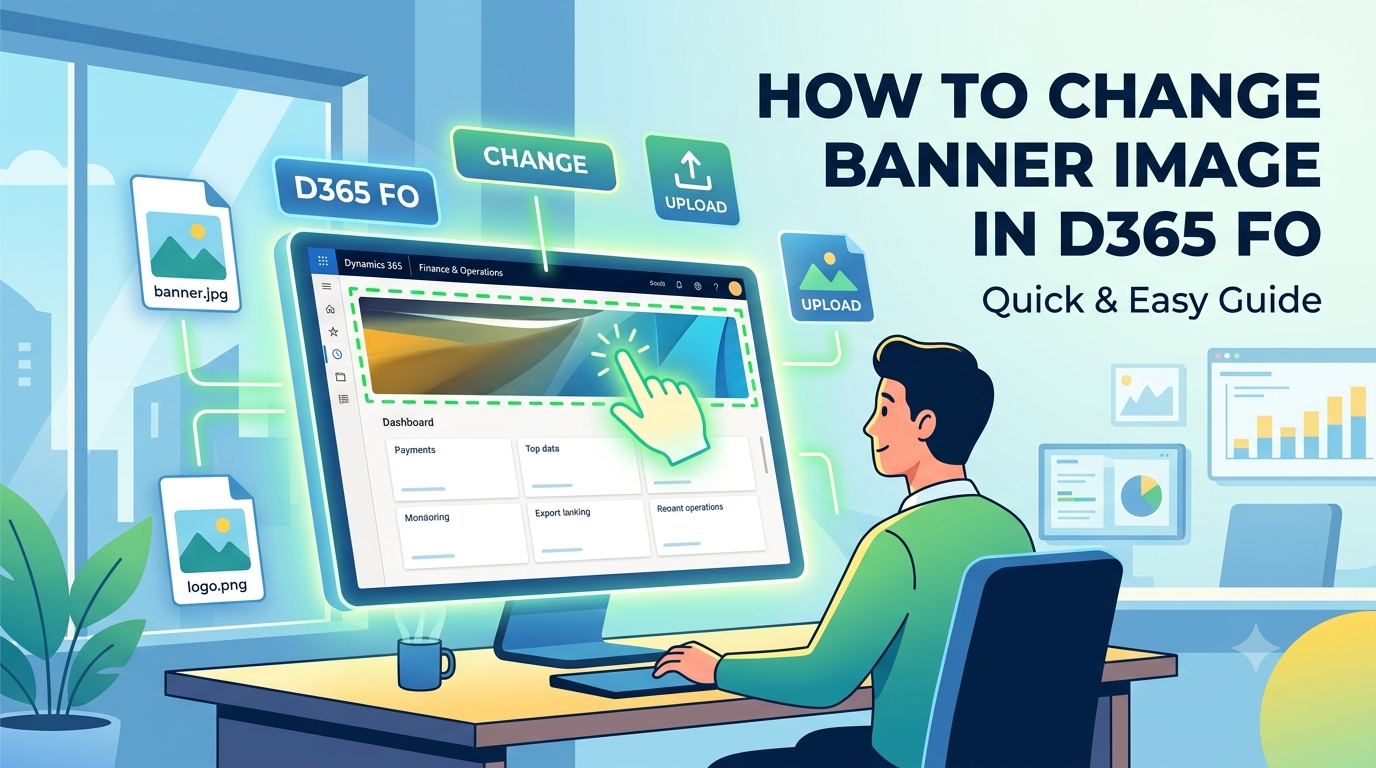
The section includes options to keep the default banner, remove the banner, or upload a custom image. It also includes the Change control for selecting a file.
Choose Whether to Display, Remove, or Replace the Banner
The Dashboard images area gives you three main choices. Select the option that matches the layout and branding you want.
Keep the Microsoft default banner
Choose Default to keep Microsoft’s standard homepage banner. This works well when your organization does not need custom branding.
The default image also provides a safe fallback after testing a custom banner. You can return to it later from the same settings area.
Remove the banner with the None option
Choose None if you want the homepage to display without a banner. This creates a simpler layout and leaves the homepage options visible without a large image above them.
Removing the banner can help when a clean, compact screen is more useful than branded imagery. The setting applies to the current legal entity.
Upload a custom image with the Banner option
Select Banner when you want to use your own image. Then click Change and browse to the image stored on your computer.
Select the file and click Open. The chosen image should then appear in the Dashboard images area, ready for you to save.
Upload a Banner That Fits the Homepage Layout
Image size affects how the homepage looks after the change. A banner should be wide enough for the page but short enough to leave room for the homepage controls.
Choose a banner with a suitable width and height
Use a wide, banner-shaped image with limited height. This shape usually fits the homepage better than a tall photo or portrait image.
The transcript does not provide fixed pixel requirements. Preview the image in the settings area and judge whether it fits the available space.
Avoid oversized images that dominate the screen
The first image uploaded in the demonstration had too much height. It stretched across a large part of the screen and pushed the homepage options lower.
A second image with less height created a more balanced result. When choosing a file, focus on a low-height design rather than a tall image.
Preview the image before saving
Check how the selected image appears in the Dashboard images section. Make sure the banner looks clear and leaves enough room for the options below it.
If the image takes up too much space, click Change again and select a shorter banner. Testing the preview first can save time after the update.
Save and Verify the Customized Homepage Banner
Uploading an image does not finish the process. You must save the legal entity record before the new banner becomes active.
Save the updated dashboard image
After selecting the image, click Save. The saved banner becomes associated with the current legal entity.
If you leave the page before saving, the new image may not be applied. Confirm that the save action completes before returning home.
Return to the Dynamics 365 homepage
Go back to the Dynamics 365 Finance and Operations homepage after saving. Keep the same legal entity selected while checking the result.
The homepage should use the image assigned to that company. Switching to another legal entity may show a different banner or the default image.
Refresh the page to display the latest banner
Refresh the homepage to load the updated image. The new banner should appear after the page reloads.
If the old image remains, check that you selected the correct legal entity and clicked Save. Then refresh the page again before making another change.
Manage Banners Consistently Across Multiple Legal Entities
You can repeat the same process for every legal entity in your environment. This supports separate visual identities without applying one image to every company.
Repeat the configuration for each legal entity
Open another legal entity and return to Dashboard images. Choose Default, None, or Banner, then upload a different image if needed.
Each entity keeps its own setting. This lets administrators create a homepage that fits each company or operating unit.
Keep each banner aligned with its legal entity
Choose imagery that clearly connects with the relevant company, region, or business unit. A useful banner helps users identify the current legal entity at a glance.
Avoid using unrelated images that may confuse users. Keep the design consistent with your organization’s brand guidelines.
Review the homepage after every change
Save and refresh after configuring each legal entity. Check the banner’s height, visibility, and position above the homepage options.
A final review confirms that the image looks correct in the actual homepage layout. It also helps catch changes made under the wrong company record.
Conclusion
Customizing the homepage banner in Microsoft Dynamics 365 Finance and Operations is a short process when you use the correct legal entity context. Open Modules > Organization administration > Legal entities, select the company, and open Dashboard images.
Choose Default to keep Microsoft’s image, None to remove the banner, or Banner to upload a custom file. Use Change to select the image, click Save, return to the homepage, and refresh the page.
For the best result, use a wide banner with limited height. Repeat the setup for other legal entities, then review each homepage to confirm that the right image appears without taking over the screen.