Power Apps Form Saves Successfully but Shows Stale Data: Find and Fix the Display
Introduction
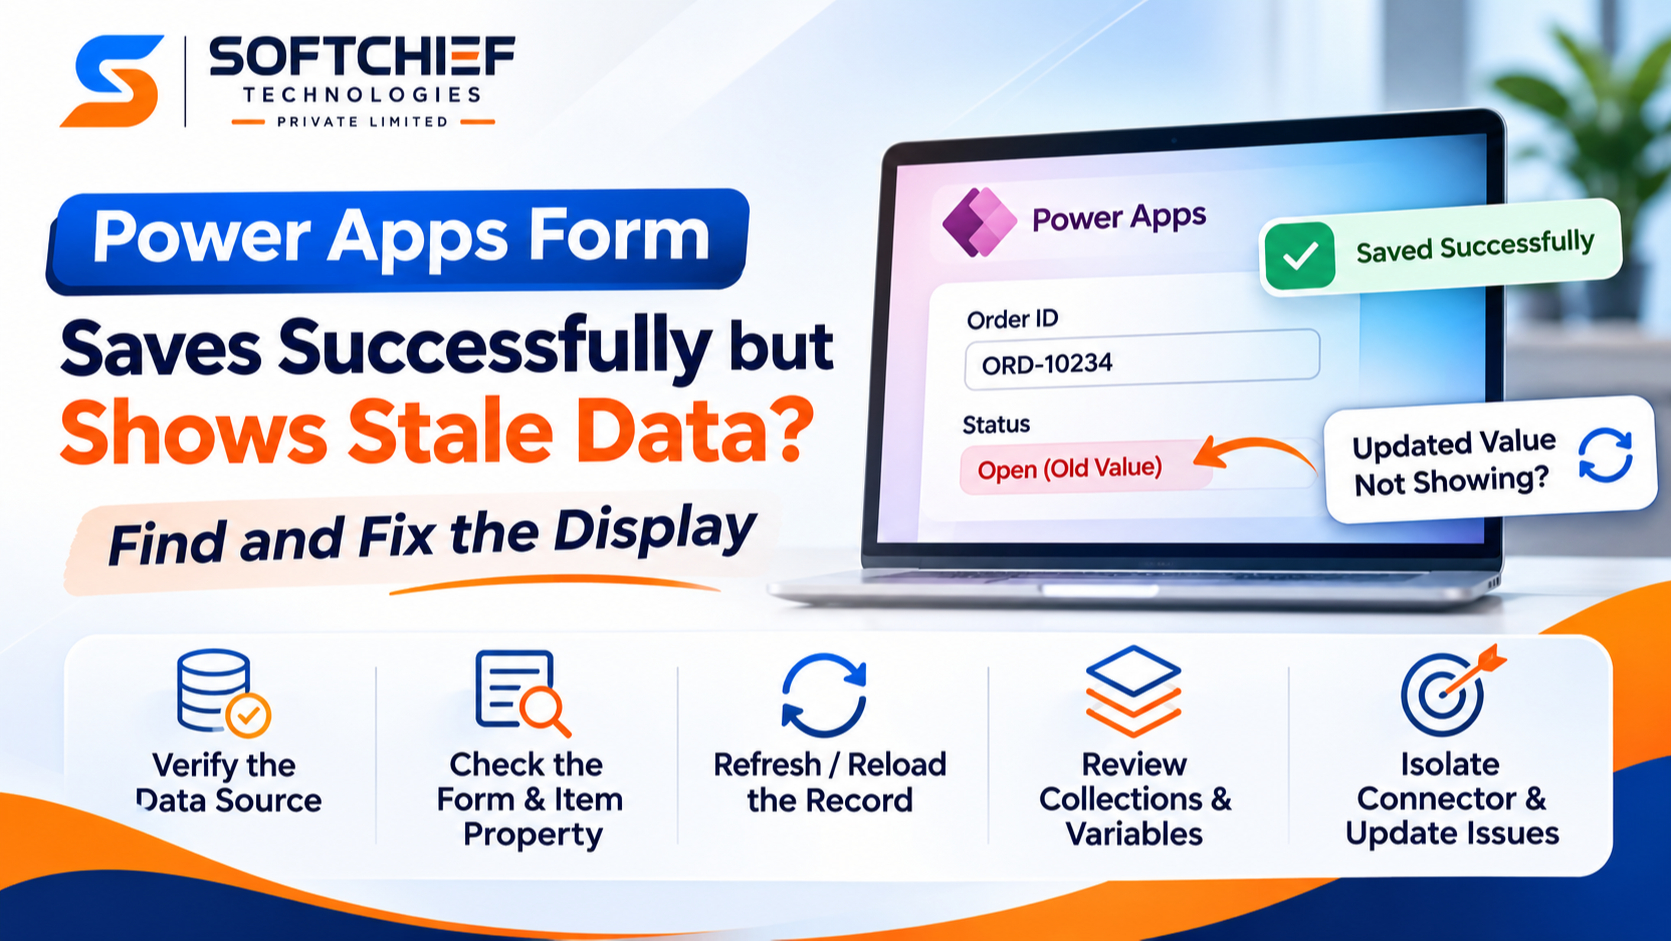
A Power Apps form saves successfully, but the screen still shows the old value. That can happen because saving a record and updating the app’s display are separate steps.
First, check the record in its source, such as SharePoint or Dataverse. Then trace the record and data that the app uses to show the form.
Common causes include an old form or collection value, an Item property pointing to a prior record, or a lookup that runs too soon. A success message alone doesn’t confirm which record the app displays afterward.
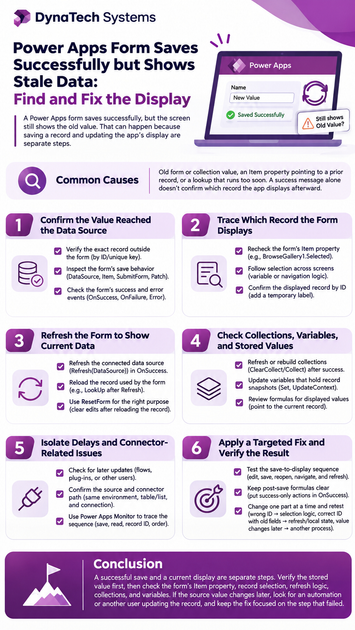
Confirm the value reached the data source
Before changing formulas, find out whether the problem is a failed save or an outdated display. Check the edited record by its unique ID, not only by its name or a success message. This helps rule out a similar record or an unexpected target.
Verify the exact record outside the form
Open the source system and locate the record using its ID or another unique key. Confirm the specific field you edited has the new value. If it doesn’t, focus on the save formula, permissions, validation, or an error.
Inspect the form’s save behavior
Check that the form’s DataSource and Item properties point to the expected source and record. If the save button uses SubmitForm(Form1), the form submits its card values. If it uses Patch, check the target record and every field-value pair in the formula.
Check the form’s success and error events
Put actions that should happen after a successful form save in the form’s OnSuccess property. Review OnFailure and the form’s Error property for messages about validation or data-source issues. Microsoft’s canvas-app form documentation describes how form submission triggers success or failure behavior.
Trace which record the Power Apps form displays
A form displays the record supplied by its Item property. That might be a gallery selection, a variable, or a LookUp result. If that expression still holds an earlier record, the form can show old data even after the correct record was saved.
Recheck the form’s Item property
Select the form and inspect Item. A common expression is BrowseGallery1.Selected, but the gallery may still hold an earlier selection. If Item uses a variable or lookup, check how and when the app updates it.
Follow selection across screens
Trace the formula that opens the edit screen and passes the selected record. Look for a variable set before editing, or navigation logic that returns to a screen without selecting the updated record again. Microsoft notes that a form’s Item property determines which record appears.
Confirm the displayed record by ID
Temporarily add a label that shows the record ID used by the form. If the ID is wrong, investigate selection and navigation. If it’s right but the field values are old, check refresh behavior and any local copies of the record.
Refresh a Power Apps form that saves successfully but shows stale data
Refresh, reload, and reset address different issues. Refresh(DataSource) requests current data from a connected source; updating the form’s Item record changes what it receives; ResetForm discards pending edits. Choose the action that matches what your checks revealed.
Refresh the connected data source
Use Refresh(DataSource) when the app needs to read recent changes, such as updates made outside the form or by another process. Confirm the formula names the same data source the form uses. Microsoft’s data-source guidance explains that Refresh reloads data for app use.
A successful SubmitForm refreshes its data source, but a gallery or formula based on a separate variable may still show an old value. Put any follow-up refresh in OnSuccess, rather than after SubmitForm on the save button. That way, the follow-up read runs after the form reports success.
Reload the record used by the form
If the form’s Item property uses a variable, look up the saved record again by its ID after refreshing. For example, an OnSuccess formula can use Refresh(Orders); Set(varSelected, LookUp(Orders, ID = varSelected.ID)). Replace Orders and ID with your data-source and key names.
For apps that use Patch, save its returned record to a variable when useful. Check that the patch targets the intended ID, then reload the record if the source or another process may alter fields after the write.
Use ResetForm for the right purpose
ResetForm(Form1) clears unsaved edits and restores the form’s values from its current record. It doesn’t guarantee that this record was fetched again from the source. If the diagnosis points to stale data, refresh or reload the Item record first, then reset the form if you need to clear unsaved changes.
Check collections, variables, and stored values
A screen may display a local copy instead of reading directly from the connected source. Collections and variables can keep values that were captured before the save. Microsoft describes collections as app-local data, so refreshing a connected source alone won’t rebuild a collection.
Refresh or rebuild collections
Search for ClearCollect or Collect formulas that load the screen’s gallery or form data. Check when they run and whether they run again after saving. If the app relies on a collection, rebuild or update it after success so it contains the latest record.
Update variables that hold record snapshots
Look for Set and UpdateContext formulas that store the selected record or field values. A variable that held a record before editing may still contain the old values afterward. Update it with the saved or reloaded record before returning to the display screen.
Review formulas for displayed values
Check labels and other controls that show data outside the form. A label based on a stored variable won’t necessarily match the form’s refreshed record. Point it to the current record, or update its variable after the save.
Isolate delays and connector-related issues
The app may read data while another process is still changing the record. A flow, plug-in, or other user could update the same field after the form saves. Compare the source value right after saving and again a short time later.
Check for later updates
If the value changes after a delay, review flows, automations, plug-ins, and other edits that affect that record. Check their run history or logs where available. This helps distinguish an app display issue from a later overwrite.
Confirm the source and connector path
Make sure the form and follow-up lookup use the same environment, table or list, and connection. A record in a test environment can look like the expected record in production. If the source and app disagree, verify the record ID and connection before changing formulas.
Use Power Apps Monitor to trace the sequence
Run Monitor while reproducing the issue. Inspect the save request, any later read, the record ID in that read, and the order of app actions. Look for a missing refresh, a lookup against a different record, or a read that occurs before another update.
Apply a targeted fix and verify the result
Change one part of the app at a time, then repeat the same test. The symptom points to the next place to check: a wrong ID suggests selection logic; a correct ID with old fields suggests refresh or local state; a value that changes later suggests another process.
Test the save-to-display sequence
Edit and save the record, then reopen that same record. Navigate away and return, and refresh the app. Each time, check both the displayed ID and the edited field. Verify the stored value in the source as well.
Keep post-save formulas clear
Place success-only actions in the form’s OnSuccess property. Keep the record ID explicit when updating variables or running a lookup. Avoid extra resets and refreshes unless testing shows they solve the cause; unnecessary actions can make the sequence harder to follow.
Conclusion
A successful save and a current display are separate steps. Verify the stored value first, then check the form’s Item property, record selection, refresh logic, collections, and variables.
If the source value changes later, look for an automation or another user updating the record. Confirm the ID and field across the full save-to-display sequence, then keep the fix focused on the step that failed.