How to Integrate OneDrive for Business with Dynamics 365 Customer Engagement

Integrating OneDrive with Dynamics 365 is preety much straight forward. Follow the steps below to understand the process of integration.
Step-1 : Enable the Integration Settings in Dynamics 365 CE
Login Dynamics 365 CE and navigate to Advanced Settings-> Settings-> Document Management and then click on “Enable OneDrive for Business”.

Click the checkbox and proceed OK to finish. Once this step is done another option gets visible called as ” OneDrive for Business Folder Settings”. At this stage you can change the name of the folder and the default folder name is “Dynamics365”.

Proceed with clicking OK to complete this step.
Step-2: Now go to an Account Record and Upload Document to OneDrive
Login Dynamics 365 Sales App and click on an Account then Click on Related TAB to choose Documents option.

Now you have to Choose Document Location to select OneDrive from the Document Accociated view.

On selection of OneDrive option it will prompt a message if you are using OneDrive first time. You can click Continue to proceed or can change the location.

Now we can upload file using upload option. Once file uploaded the uploaded file item will be show in the list.

On clicking the item above will open the file in OneDrive.
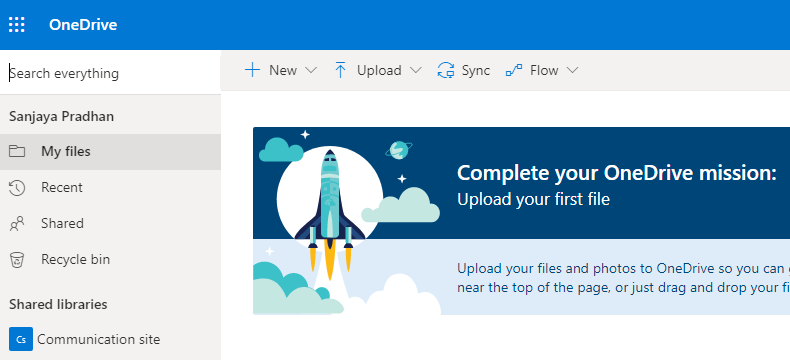
If go to OneDrive you can see the folder name “Dynamics365” as we have selected in initial configuration.

Thanks for Reading the Article.


