How to Integrate SharePoint with Dynamics 365 Customer Engagement

Assuming you have a SharePoint subscription I am proceeding with the post. To Integrate with SharePoint follow the below steps.
Step-1: Open Office Portal and Open SharePoint
Browse Office Portal with the address http://portal.office.com/. Login using your Dynamics 365 CE credential. Once Logged in click on SharePoint icon from the App Dashboard.

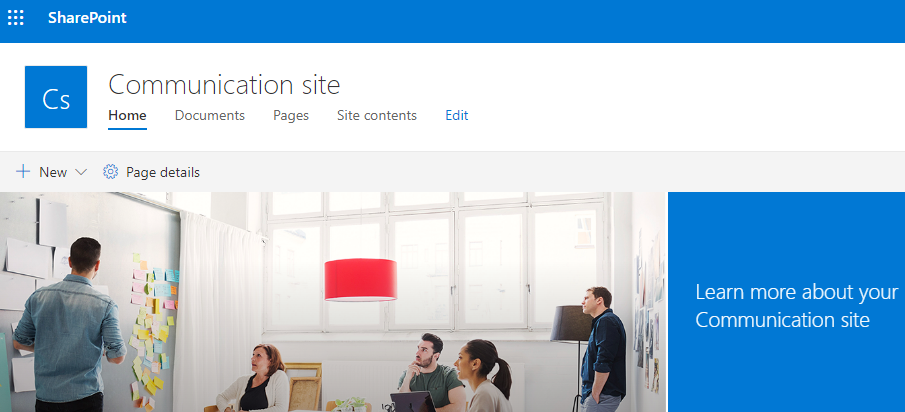
Now the SharePoint Dashboard will open. In the SharePoint Welcome screen you can Click Next otherwise click close icon to go straight to main screen for editing SharePoint options.

Step-2: Configure SharePoint Option in Dynamics 365 CE Document Management option
Login Dynamics 365 CE and go to Advanced Settings. Now Navigate to System-> Document Management

On clicking of Document management option it will open Settings for Document management option for SharePoint, One Note adn OneDrive. We will focus on SharePoint Configuration. Lets click on “Configure Server based Configuration for SharePoint”

Now in the Pop-up screen provide SharePoint Site Location as “Online” then Proceed next.

Now provide the SharePoint URL as https://<your orgname>.sharepoint.com/

On the next screen validate the information and click finish.

Once the above configuration completed now Its time to Enable the SharePoint Document Management for Entities.
Step-3 : Enable SharePoint Document Setting for Entities
Login Dynamics 365 CE and Click on Advanced Settings then Settings -> Document management. Then click on “Document Management Settings”.

Now in the Pop-up screen select the entities that you want to use to manage SharePoint documents. You will find some entities like Account, Work Order etc are already Enabled and if you want you can enable other entities. I have enabled a custom entity called as Blog and Press Next.

In the above screenshot we have SharePoint Site field. As we have not created a Site in SharePoint so we can enter the base url of the SharePoint site as https://<your orgname>.sharepoint.com/
In the next screen check Based on entity to have document libraries and folders that are based on the Account entity automatically created on the SharePoint site. Users will not be prompted to create them.

This will prompt that it will take some time to create documents and once completed click Finish button.

Step-4 : Store a Document in SharePoint
Now we will see how we can strore a document for an Account in SharePoint we have configured above.
Login Dynamics 365 CE and Open an Account and click on Related TAB to choose Document option.

Now from Associated Documents section click on Upload button and choose your document to upload and Choose if you want override the file if already exist.

Now If you login SharePoint then the uploaded document will be seen inside Account directory with the GUID of the record appended.

If you also click the uploaded document from Dynamics 365 CE also it will open in SharePoint location.

On click the Document will open as below.

if you want to edit the SharePoint Sites you can go to Advanced Settings and Document Management the Select SharePoint Sites and Document management Settings and Edit them.

Thank you for reading this tutorial.


