Convert Word to PDF from OneDrive and Send Email using Power Automate
Here in this blog we will see how we can create a word file in OneDrive and use Power Automate to read the word file and convert it to PDF and send the PDF to email as an attachment.
Step-1: Create a Word File in OneDrive
Open OneDrive and create a Folder “MyFiles” and inside the folder add a Word File.

Now provide desired data to the word file and save it specify the name as lets say ‘mydoc‘.

Now we have successfully created a word file in OneDrive.
Step-2 : Create a Power Automate to read word file and convert to PDF
Login office.com and open Power Automate app. Choose correct environment and click on Create and choose Instant Flow.

Give a flow name “Word to PDF and Email” and Choose manual click trigger then click create.

Add an action called OneDrive Connector and action as Convert file using path. Choose the word file path and the target type as PDF.

Step-3 : Send Email as an attachment
Now add another action for Office 365 outlook connector and use send email action.

Define the Email To, Subject and Body of the Send Email action.

For Attachment use Filename and File content form dynamic panel and assign to corresponding attachment field of Send Email action as given below screenshot.

Now save the Flow and Test it.
The final flow will look like below.

Now click on Test use Manual test to see if it works fine.

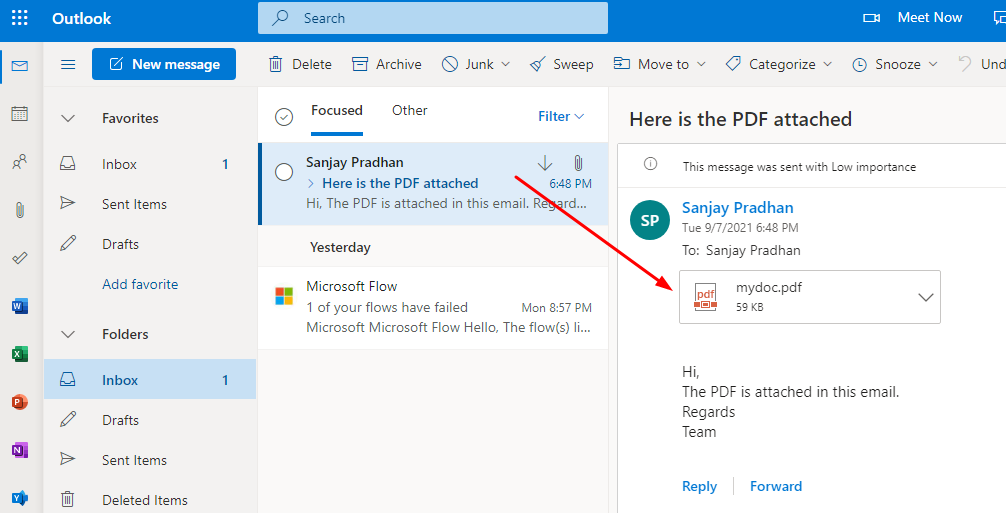
Now the flow run successfully and the email also received.