
How to Make Fields Read Only in Power Pages Form Using JavaScript
Introduction:
Power Apps Portals empower users to create dynamic and engaging web experiences without delving into complex coding. In this blog post, we’ll explore how to make fields read-only in Power Pages forms using form metadata, ensuring a seamless and user-friendly portal customization process without the need for any code.
this bellow link will helps you
Step-by-Step Guide:
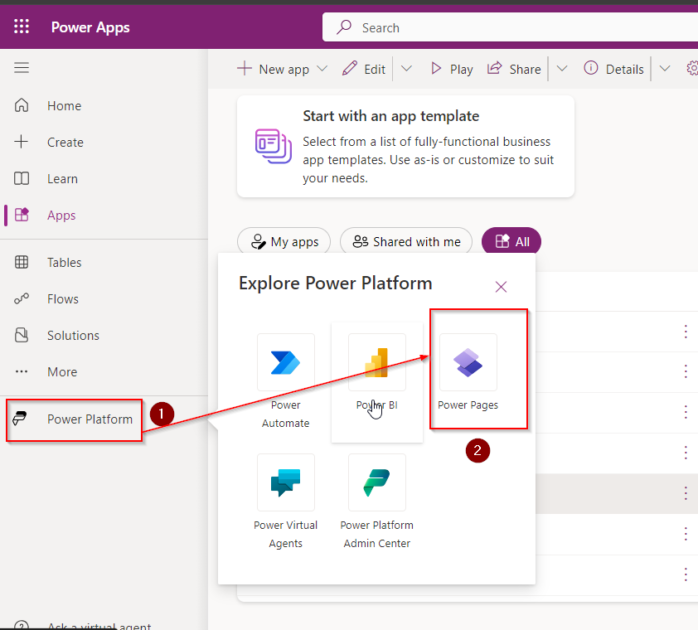
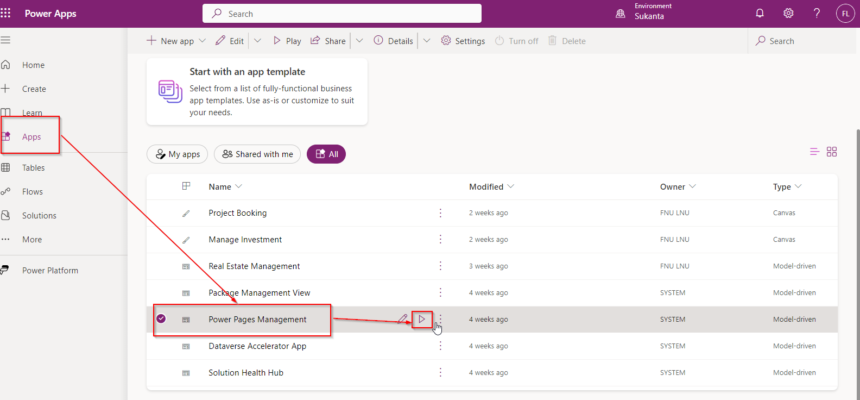
Step 1: Navigate to the Power Platform Admin Center
- Open your Dynamics 365 environment.
- Access the Power Platform Admin Center.
- Select the specific Portal you want to customize.
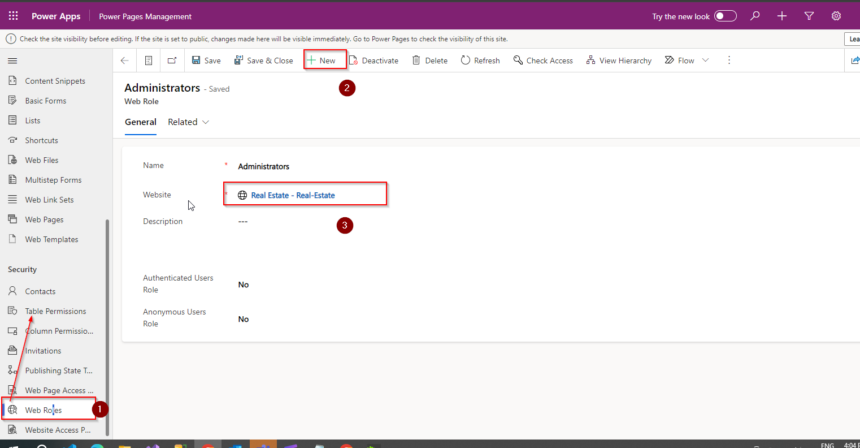
Step 2: Access Entity Forms
- In the Portal Management App, navigate to the Content tab.
- Locate and click on Entity Forms.
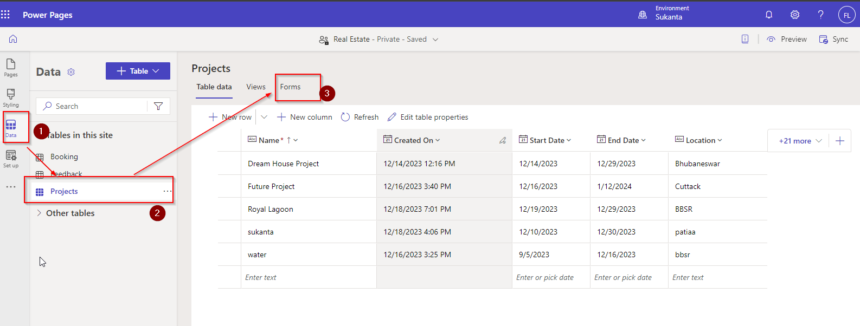
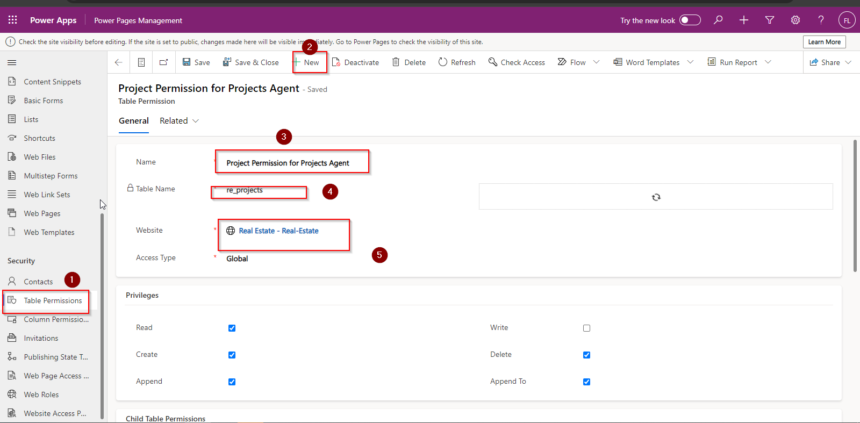
Step 3: Choose the Entity Form
- Identify the relevant Entity Form that corresponds to your target form.
- Click on the Entity Form name to access its settings.
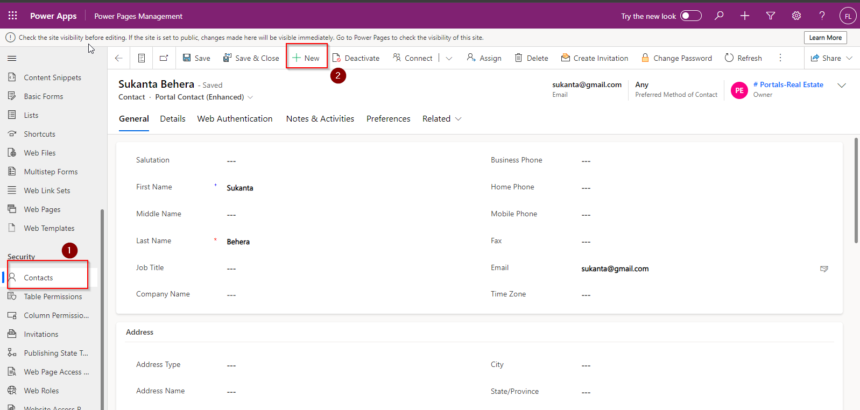

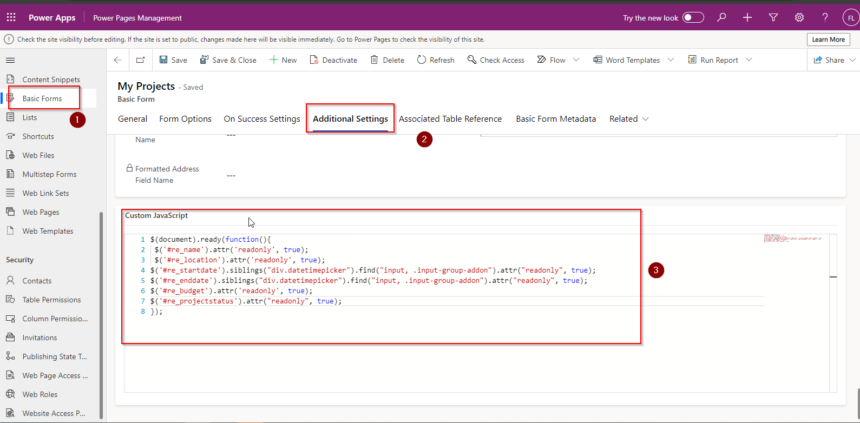
Step 4: Edit Form Metadata
- Within the Entity Form settings, find the Form Metadata section.
- Click the Edit button to open the Form Metadata editor.

Step 6: Save and Publish
- After adding the form metadata, click Save to store your changes.
- Once saved, click Publish to apply the changes to the portal.
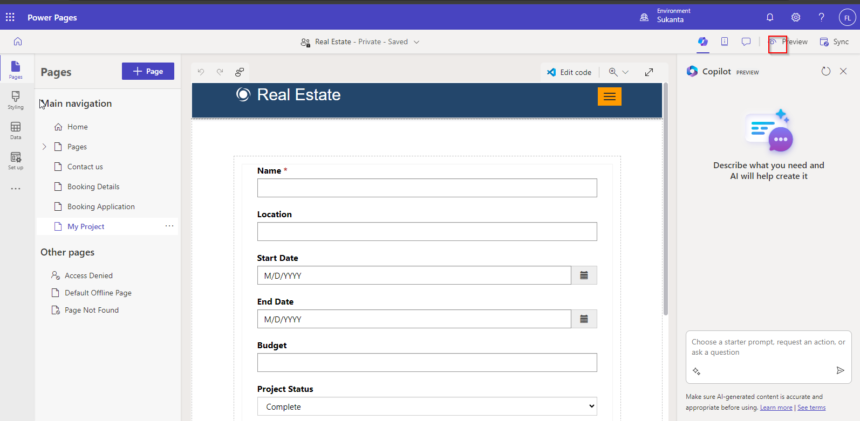
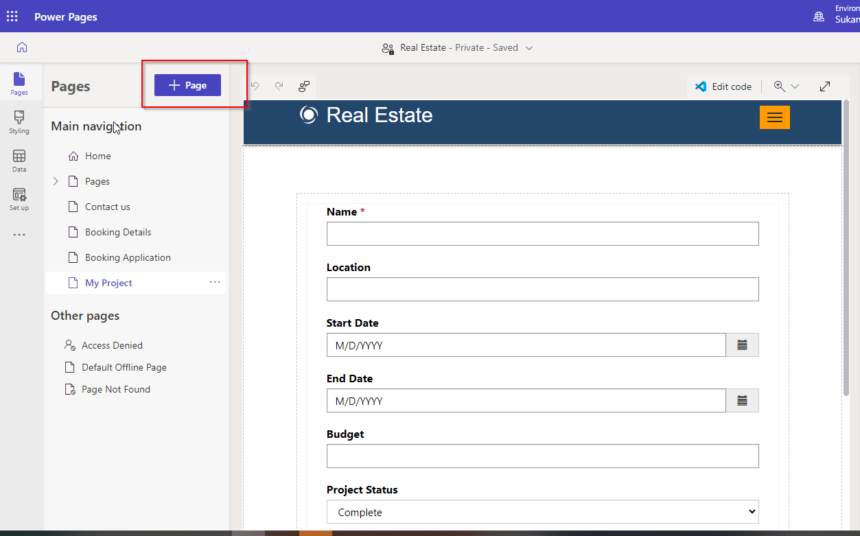
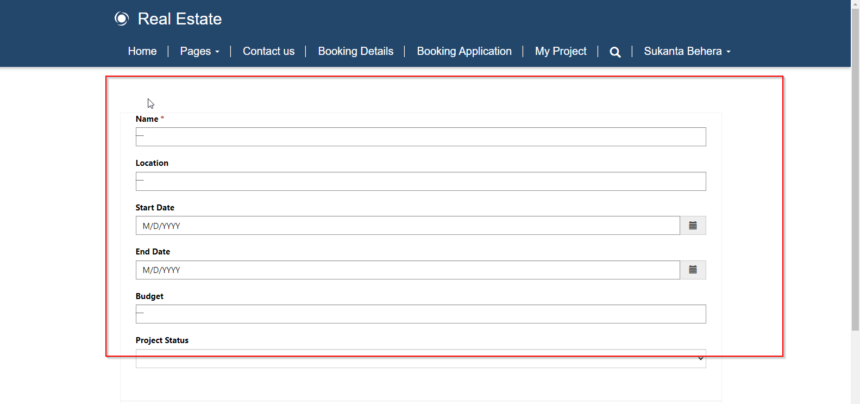
Step 7: Test the Read-Only Fields
Navigate to the portal where the form is displayed.
Open the form and verify that the designated fields are now read-only.
Conclusion:
By leveraging the simplicity of form metadata in Power Apps Portals, users can effortlessly make fields read-only without resorting to any code. This approach provides an accessible customization avenue for portal administrators, ensuring a user-friendly and efficient process to enhance the user experience. Follow these steps to unlock the power of form metadata and tailor your portal forms to meet specific requirements without writing a single line of code.
Hope it helps You.